Hi Everyone!
I’m a bit upside down this month. We are having our bedroom and en-suite bathroom reformed so everything is everywhere in the house. When one room is getting done the whole house is topsy turvy. Hopefully by next month I will be back to normal. Updated, gorgeous bedroom and bathroom pics to follow lol.
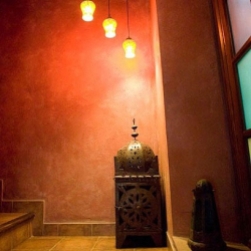
My inspiration for my Cosmic Wave soap this month came from a Spa day I booked for myself and 2 older daughters a couple of weeks ago to celebrate my 22 year olds birthday.
I love all the colors used in the tiles, tagines and Moroccan pots. Such rich, opulent, exotic tones which would be perfect in my soap.
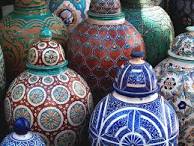
We went to a beautiful Hammam Spa, Arabic bathhouse and spent a lovely relaxing morning being scrubbed, bathed and massaged.
Firstly, we bathed in the cool, warm and hot pools, relaxed with a cup of Moroccan mint tea in between and then got called for our treatment. It involved laying on a warm, stone slab. Being rubbed down with a Turkish red soap and exfoliated with a Kessa mit. They put loads of suds on you beforehand and then rinse with warm water before the sloughing begins. Once that was over and I was dried off, it was off to the massage bed. I picked Red Amber oil but could have had Lavender, Biznaga or Rose.
Bliss, I tell you!! The only problem, It wasn’t long enough, but I suppose no massage lasts for 5 hours…..
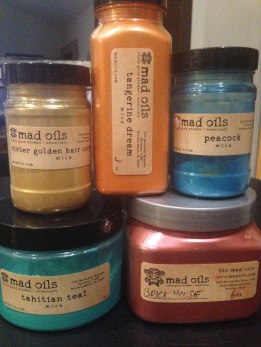
For my soap I decided to stick with a white base and add the colors to that. My colors are Peacock, Tahitian Teal, Sister Golden Hair, Tangerine Dream and Brick House Madoils micas. I love how deep their micas are. For the white base I used Here comes the bride, also Madoils mica. Because I was using 38% water, I didn’t want glycerin rivers so decided against Titanium Dioxide.

Fragrance was White tea and mint with a touch of Spearmint essential oil.
I used my trusted slow moving recipe of equal parts Coconut, Palm, Almond and Olive oils.
I started off pouring the soap into my jug, alternating colours like one of the methods Tatiana showed in the tutorial.

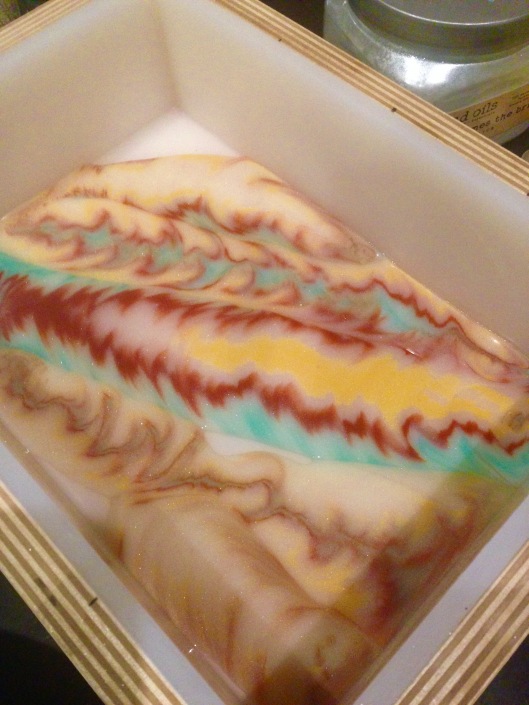
This was my first layer pour.
After that, I poured some white into the jug and just added the colours in a swirly pattern also like Tatiana showed.
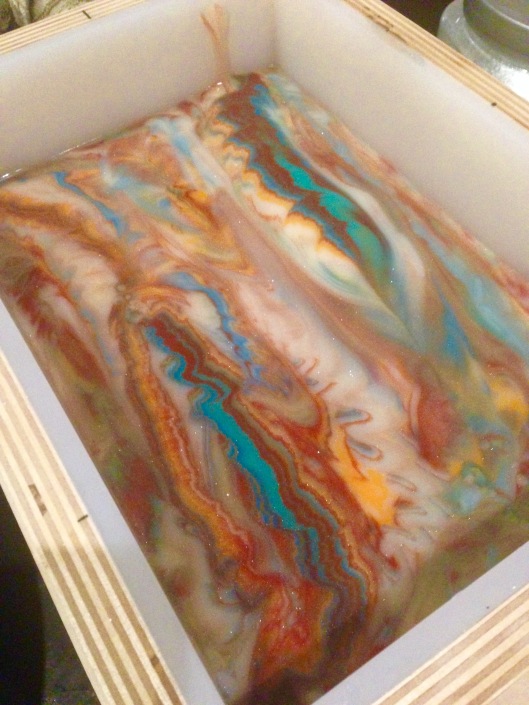
Some of my ribbons went slightly muddy so I let the soap batter thicken slightly. I think that was the problem, my trace was a bit thin but once thickened, it started to behave. If trace is too thin, the soap tends to break through to the underneath layer. It needs to stay on top so getting that perfect texture was key.
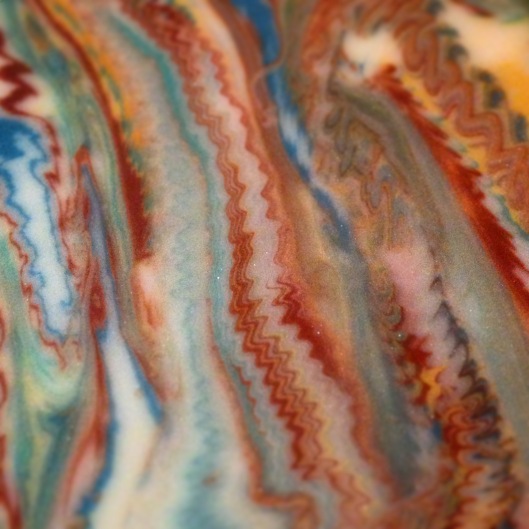
This was after all the soap was poured into the mould. I popped it into the oven at 65 degrees c for one hour, turned off the oven and left it overnight.
This method works perfectly with my slow moving recipe which I used to dread but pretty much have it mastered now.

Unmoulded and ready for cutting.


I like how bright and diverse the pattern turns out in this technique.
Thanks Amy and Tatsiana for another great challenge. I will certainly be trying this one again.
See you next month……
As always, Love from Spain!
Carolyn x






Carolyn:
I love the stories and photos you always have with your soaping!
Thank you for sharing all your colors & fragrance too.
It was great to see all the layers as they developed – isn’t it amazing how they change so much between pours?
Your colors are so bright and festive!
Beautifully done!
Sly
LikeLike
Thanks so much Sylvia x I always like some inspiration for my soaps and it just happened that this month was my Spa day lol. The layers do change so much as you move up the pour. I was a little worried that I would like the underneath pour better 🙂
Good luck with yours too, its beautiful and loved the colors xx
LikeLike
Amazing!! It takes a some practice and skill to recognize when your batter is too thin and just taking a little breather to let it thicken really can help! Love the gorgeous color palette (the inspiration sounds wonderful!!!) and beautiful cosmic waves!
LikeLike
Thanks so much Amy. It definitely did help to let it thicken slightly and thought by writing that it would help people new to soaping. I only had the 1 shot at it this month as time was of the essence☺️💕 The inspiration was the best bit lol👍🏼
LikeLike
Beautiful colors, and an amazing inspiration!!!
LikeLike
Thankyou so much Sara💕 It was a lovely day☺️
LikeLike
Very lovely Carolyn! You are correct about the trace; one must get it just right for the wave to behave. You did a wonderful job!
LikeLike
Thank you so much Helene! Yes, very true. It was one of those challenges where trace had to be spot on. x
LikeLike
So beautiful, Carolyn! I truly love the color combo and the variations in the waves from the different pouring techniques. I can’t wait to see the pictures of your remodel – especially to see what gorgeous color palettes you chose with your brilliantly creative mind!
LikeLike
Thank you so much Debi once again for your lovely comment. Strangely enough, my home is very neutral colours, 50 shades of grey and white 🙂 Little pops of colour but nothing garish. Bright colours are left to my soaping x
LikeLike
Beautiful! Thank you for sharing your Soap’s “story” with us too! Your photos are amazing! 😊
LikeLike
Thank you so much Cheyenne 🙂 My photos are just on my trusted little iPhone 5 x
LikeLike
This is so beautiful. I hope you get to use some of this soap and it always reminds you of your lovely day.
LikeLike
Thank you very much Teressa! I most definitely will use a bar and remember my lovely spa day. We got to bring our kessa met home too so will use with that. x
LikeLiked by 1 person
I love the beautiful colour combinations, and some very cool waves too!!
LikeLike
Thank you so much Natalie 🙂 x
LikeLike
Great color combination, as usual, Carolyn. Nicely done
LikeLike
Thank you so much Lisa 🙂 x
LikeLike
Carolyn, your colors are so vibrant and beautiful. Thank you for sharing the story and photos, too. Beautiful job, as always. 🙂
LikeLike
Thank you so much Holly 🙂 Always so kind x
LikeLike